

Quickstart
Run a ready-made image editor app, then add the editor to your own app.
This guide creates a ready-made app with the image editor in it. One command creates the app and saves your license key. The app is a small "social post studio": you pick a format, design a post in the editor, and download it as a PNG file.
Already have an app? Go to Add the editor to your own app.
Prerequisites
- Node.js 20.9 or later, and npm.
- A license key. Sign up for free to get one. The key works on
localhostwithout any change. - A desktop browser. The editor runs in the browser.
Create a starter app
Create the app
Run the command for your framework. It creates the folder my-image-editor with the starter app in it.
npx @layermetry/react-image-editor-starter my-image-editorThe command asks for your license key. Paste it, and the command saves it in the file .env. If you do not have a key yet, press Enter. You can add it later.
Install
cd my-image-editor
npm install
This installs @layermetry/media-editor and the framework. Nothing else is needed.
Start the app
npm run devOpen the address that the command prints: http://localhost:5173 for React, Vue, Svelte and JavaScript, and http://localhost:3000 for Next.js.
If you pressed Enter instead of pasting a key, the app shows a box where you paste it. A pasted key is saved in that browser, and the app uses it before the key in .env. To remove it, press Use a different key. You can also put the key in .env yourself:
VITE_LAYERMETRY_LICENSE_KEY=your-keyThe app shows three formats: Post (1:1), Story (9:16) and Banner (16:9). Pick one. The image editor opens with a ready-made design. Change it, press Export, and then press Save & Exit. The finished PNG file downloads to your computer, and the app returns to the three formats.
If the key is wrong or has expired, the app shows "The editor could not start" with a button to try a different key.
Where to change the app
The code is in the src folder of each starter, or in the app folder for Next.js.
| File | What it does |
|---|---|
App.tsx (React) | Opens the editor with your key, downloads the export, and returns to the formats on close. |
designs.ts | The three ready-made designs: sizes, colours, shapes and text. |
licenseKey.ts | Reads the key from .env or from the browser. |
The other starters have the same designs.ts and licenseKey.ts. Their main file has the name their framework uses: page.tsx and Studio.tsx for Next.js, App.vue for Vue, App.svelte for Svelte, and main.ts for JavaScript. This is the part of the React starter that opens the editor:
<ImageEditor
  licenseKey={licenseKey}
  defaultTemplate={format.template}
  onExport={download}
  onClose={() => setFormat(null)}
  renderLicenseBlocked={(state) => <Blocked message={state.message} onReset={reset} />}
/>licenseKeyis your key.defaultTemplateis the design the editor opens with, fromdesigns.ts.onExportreceives the finished file. The starter downloads it. In your own app, upload it to your server instead.onCloseruns when the user closes the editor.renderLicenseBlockedshows the starter's own screen when the key is refused.
Add the editor to your own app
These steps add the editor to an app you already have, or to a new empty project.
Prerequisites for these steps
The React example below uses a new Vite project, which needs Node.js 20.19 or later, or 22.12 or later.
If you do not have a project yet, create an empty one for the framework you use.
npm create vite@latest my-editor -- --template react-ts
cd my-editor
npm install
Install the package
Install the SDK in the project folder.
npm install @layermetry/media-editorThe same package contains the image editor and the video editor. It has no runtime dependencies, and it carries its own copy of React, so a page without React can use it.
Add a license key
The editor does not start without a license key. You pass the key as licenseKey.
Replace 'YOUR_LICENSE_KEY' in the next step with your own key. If the key is missing or not valid, the page shows "License Validation Failed" instead of the editor.
For a key that works on localhost, see Local development.
Render the editor
Add the editor to the page. The editor fills the element that contains it. In these examples, that element covers the whole browser window.
Replace the contents of App.tsx in the src folder.
import { ImageEditor } from '@layermetry/media-editor/react';

function handleExport(file: File) {
  // Upload the file to your server here.
  console.log(`Exported ${file.name}: ${file.size} bytes, ${file.type}`);
}

function handleClose() {
  console.log('The editor was closed');
}

export default function App() {
  return (
    <div style={{ position: 'fixed', inset: 0 }}>
      <ImageEditor
        licenseKey="YOUR_LICENSE_KEY"
        onExport={handleExport}
        onClose={handleClose}
      />
    </div>
  );
}
Start the development server.
npm run devOpen the address that Vite prints, for example http://localhost:5173.
The page shows the image editor with an empty page.
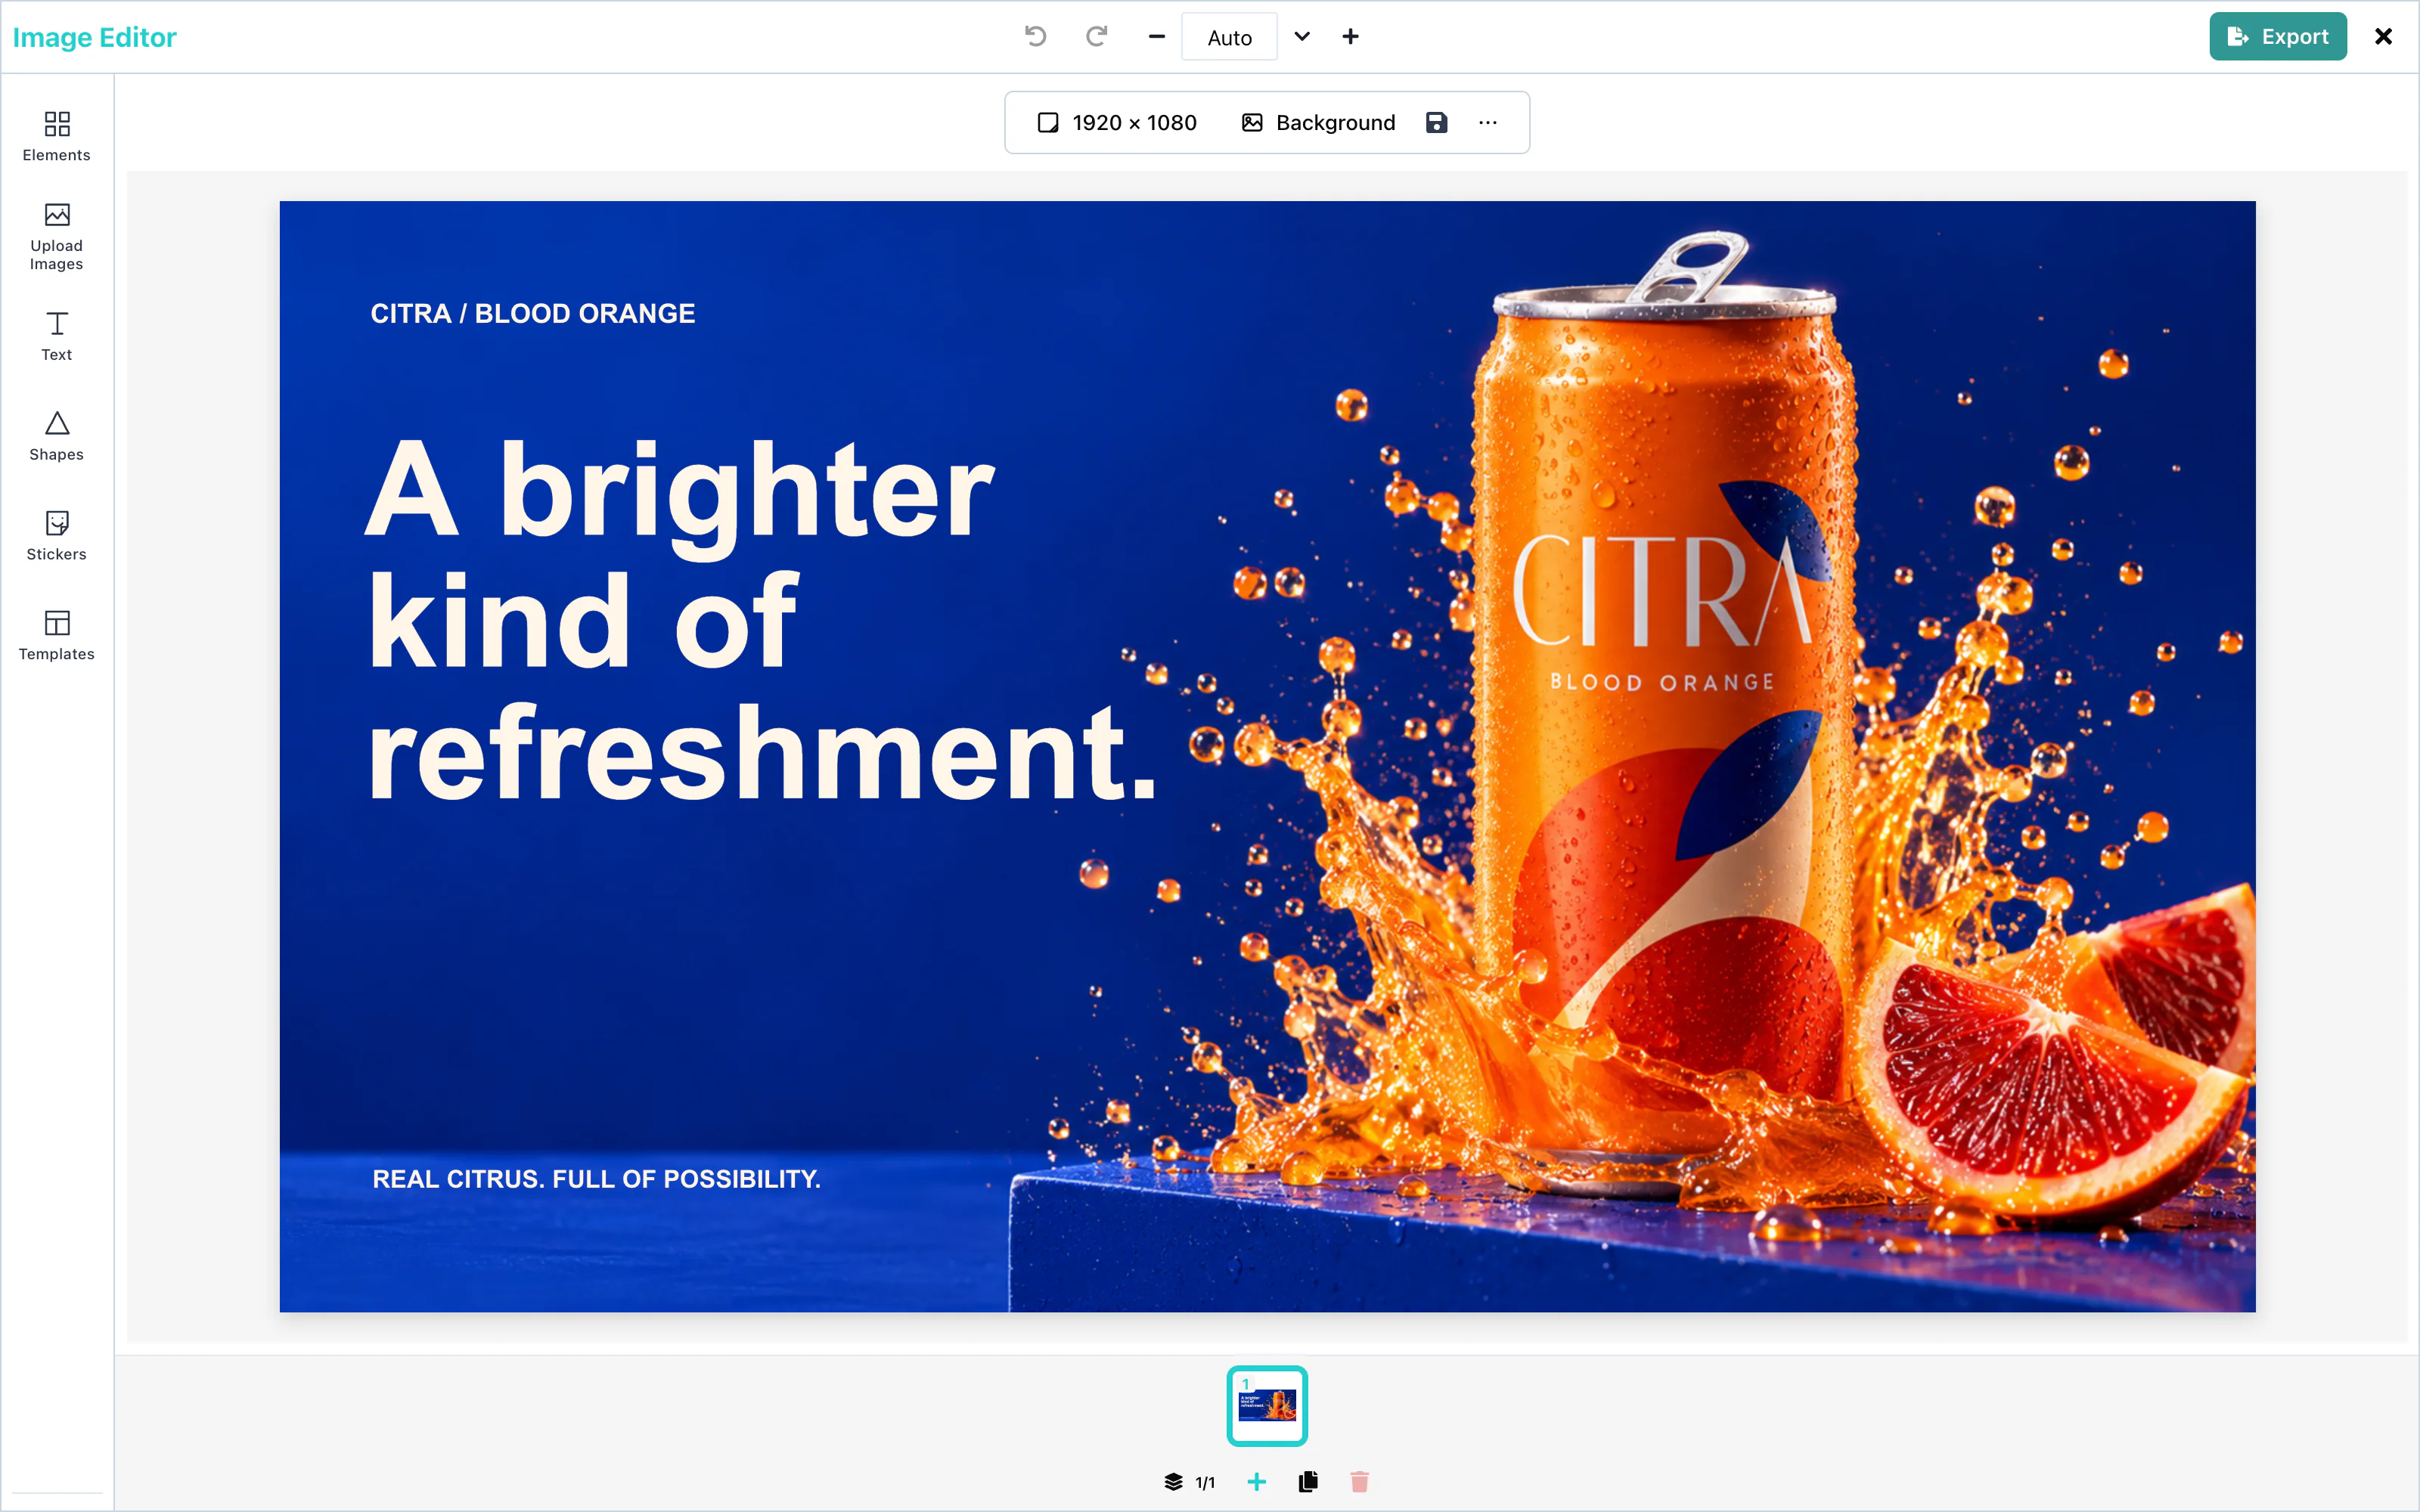 View full size
Handle the export
The editor gives you the finished design through onExport. Your code decides where the file goes.
To try it, press Add text above the page, press Export, and then press Save & Exit. The editor creates the file in the format selected in the export panel and calls onExport with it as a File. Then it calls onClose.
PNG is selected when the panel opens. The panel also offers JPG, JPEG, and PDF. The Download button saves the file on the user's computer instead, and does not call onExport.
The browser console shows the two messages from the example:
Exported exported-image-17058991-9a32-4fbc-a4b2-7dbac05ccacb.png: 27110 bytes, image/png
The editor was closed
The editor also calls onClose when the user presses the close button. Remove or hide the editor in your page when onClose runs.
To keep the design, upload the file to your own server in handleExport. See Export for the formats and their options.